
We will go through the following steps:
- Deploying Azure Resources
- Using Azure Machine Learning Studio
- Connecting D365 with Azure Machine Learning Studio
Deploying Azure Resources
In this step, we will deploy Azure resources for two aspects. First, the resources function as a usage and accounting monitor. Second, you can define where (in which datacenter) the resources are located. In principle, this step is not mandatory: you can use MS-managed resources but then you do not have control over the datacenter location storing your data. Hence, in this step we show how to create resources you can manage yourself.
The Azure resource is called “Machine Learning Workspace”.
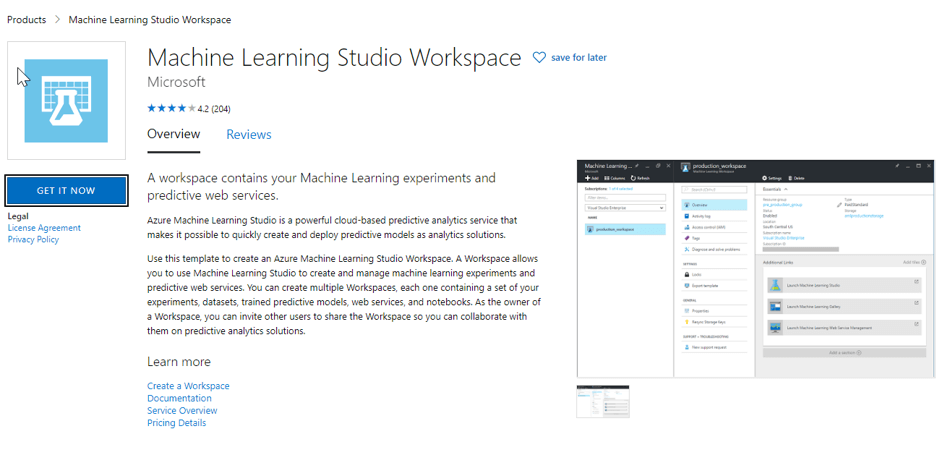
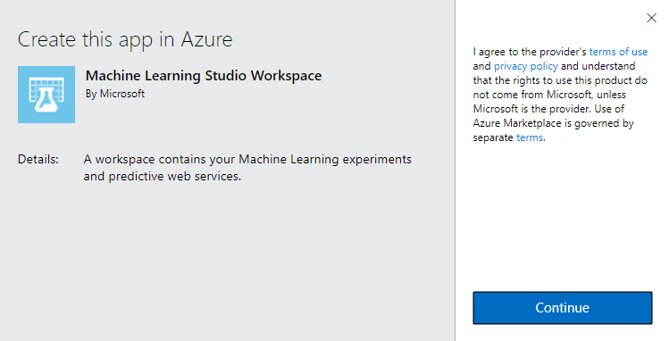
Click “Get it now” > “Continue”. After you log in, you are redirected to the Azure resource creation panel.

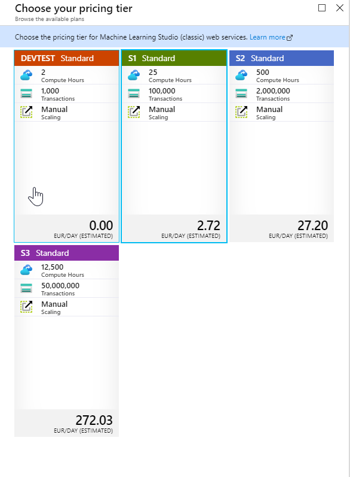
You will find more details about the available pricing schemas here.
Finish by clicking „Create“. After a short time, the required resources show up in the resource group you selected / created.

Using Azure Machine Learning Studio
In this step, we will use the predefined Azure Machine Learning Studio experiment, deploy it to our workspace and create a web service endpoint which is accessible from outside.
First go to the Azure AI Gallery.
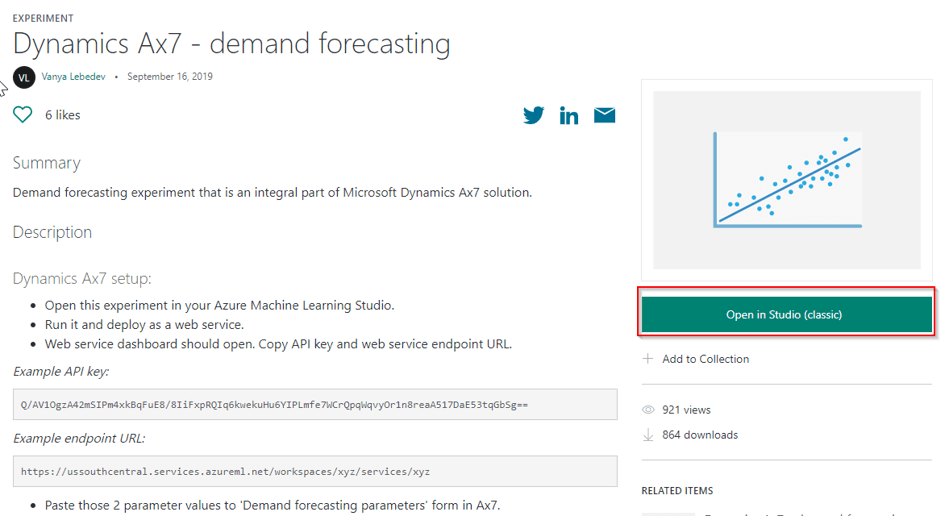
Select “Open in Studio (classic)”. You will be asked in which workspace you want the experiment to be deployed. It should show something like the following:
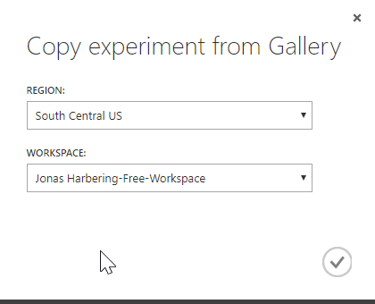
Now, if you skipped the first step (you did not deploy the Azure Machine Learning Workspace resource), then this would be your option to select. If you deployed the corresponding resource in the previous step, select the region (datacenter location) and the workspace you created earlier.
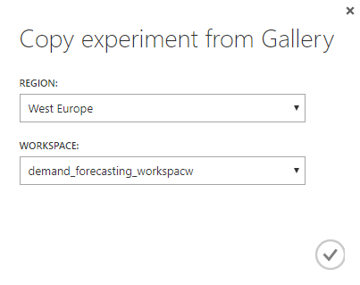
Finish by hitting the check button. Within the Azure ML Studio you should find something similar to the following screenshot.

Check that you are using the right workspace in the upper right corner. Then, under experiments (left menu bar), you should find one experiment with the name “Dynamics ax7 – demand forecasting” in the status “Draft”. Open the experiment by clicking on it. Now the experiment opens and should look like the following.
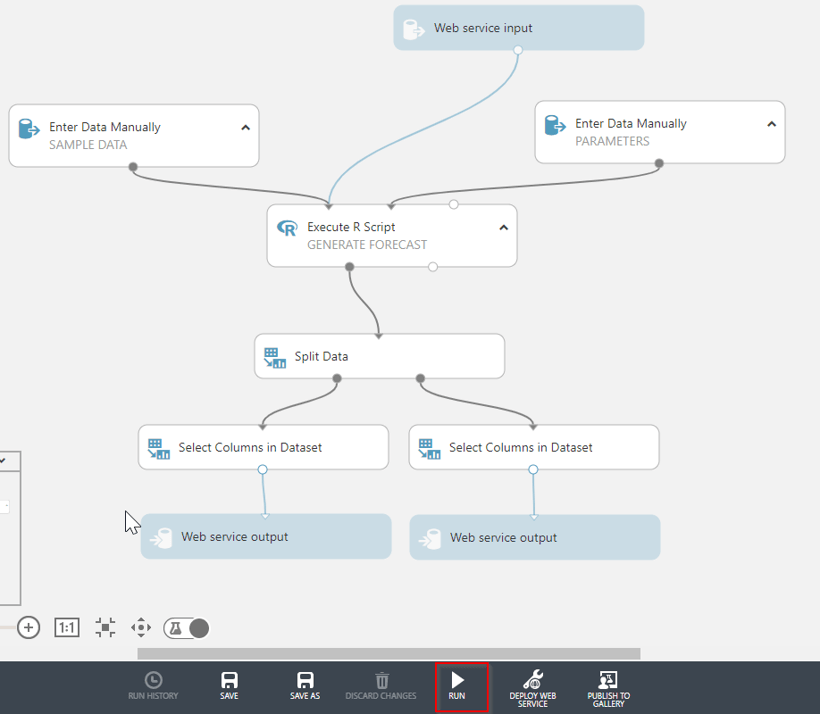
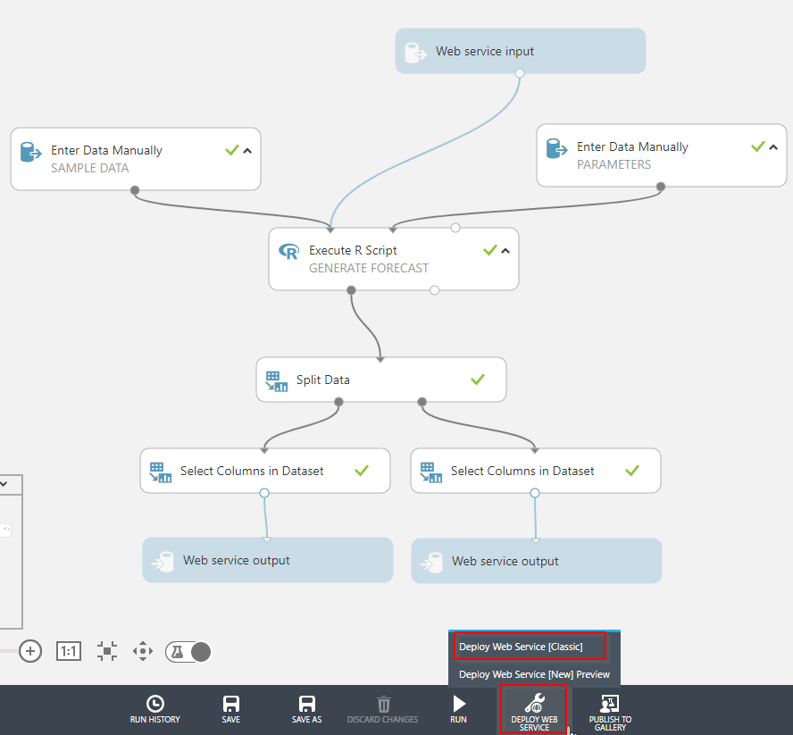
Execute the experiment once by clicking “Run” in the menu bar on the bottom. This should be done in a few seconds and all the blocks in the image receive a green checkmark. Then click “Deploy Web Service” on the bottom menu. Two options open, select “Deploy Web Service [Classic]” as shown in the following screenshot.
You are directed to a page which shows some information on the handling of the web endpoint (see the following screenshot).
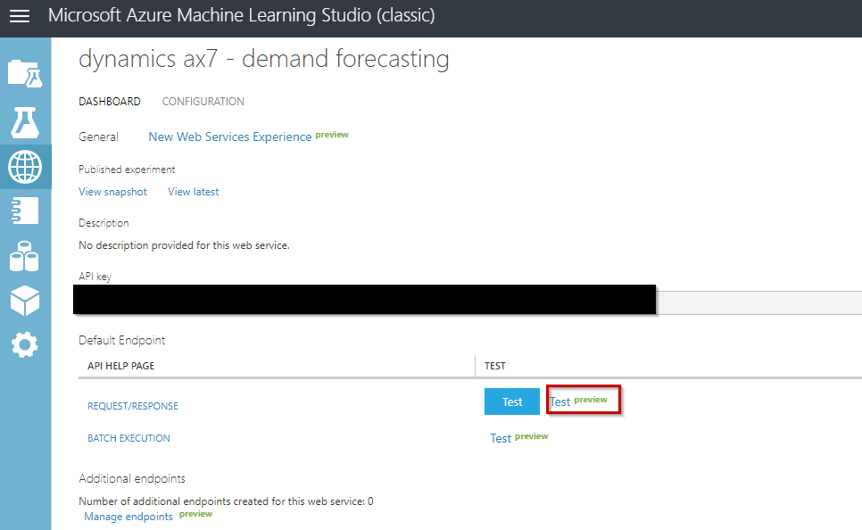
Then click “Test preview” and you will be redirected to a different page which gives a lot of web endpoint management options.
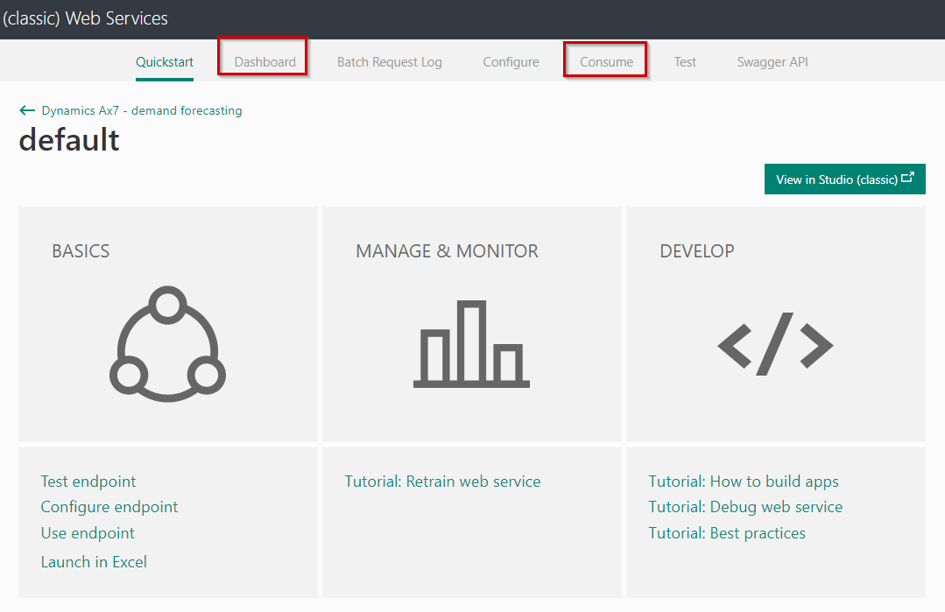
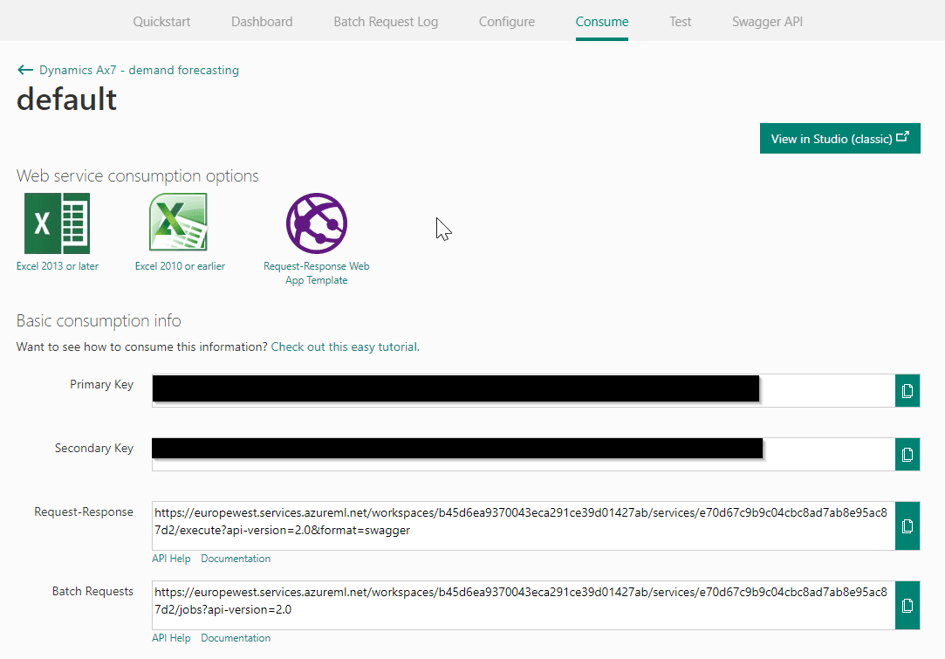
Under “Dashboard” you find different monitoring information. It is worthwhile to browse through the different menu items on this page and see the options. Finally, go to “Consume” and find the API key and the request endpoints.
Connecting D365 With Azure Machine Learning Studio
Within your D365 environment, go to “Master Planning” > “Setup” > “Demand Forecasting” > “Demand Forecasting Parameters” and in the form click on “Azure Machine Learning”.
In this form, type in the API Key into the “Web Service API Key”-Field. For the Web service endpoint address take the Batch-Requests URL and modify slightly by just taking the characters up to the last “/”. In our case it would be the following (modify according to your settings):
https://europewest.services.azureml.net/workspaces/b45d6ea9370043eca291ce39d01427ab/services/e70d67c9b9c04cbc8ad7ab8e95ac87d2/
Enter this URL in the Web service endpoint address.
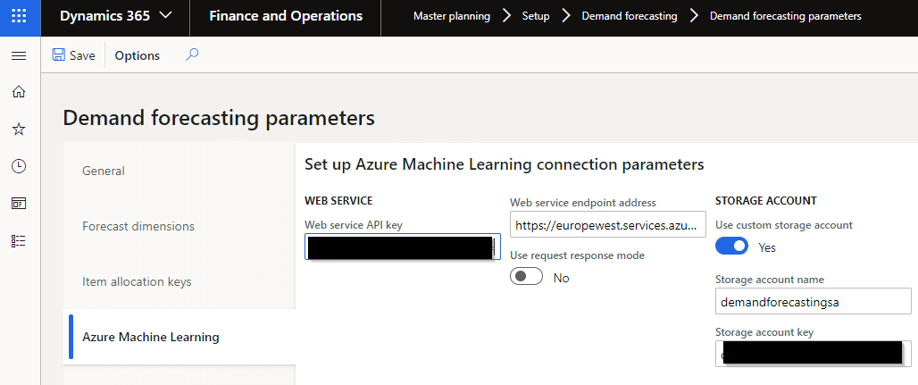
The storage account is used to store logging data about the usage of the web endpoint. If you wish to do so, go to Azure and fetch the storage account name and key from the account you created earlier within the Azure Machine Learning Workspace resource. For now, you do not need the storage account. Click “Save” and you are ready to create your first baseline forecast.
